Saturday, May 4, 2013

Lemonny Goodness

Dry ingredients
So for our missions confrence last week I signed up to bring soup and a dessert.  For my dessert I desided to make a lemon poppy seed pound cake.  I found a recipe on pinterest from Stone Gable.
 
This recpie was different than any I had made before.  I did double the recipe in order to use a bunt pan.  This cake was very flavorful and mildly rich.  It is a very dense cake , but not overly so.


dry ingrediets with butter and egg mixture
This recipe went together very easily although it did get difficult to mix by hand.  However since my last several cakes have overflowed and made a mess in my oven, I didn't want to use a mixer. 


            Lemon Poppy Seed Pound Cake
                        makes 1 bunt cake

6 Tbs Milk
6 Large Eggs
1 Tbs Vanilla
3 C. Cake Flour
2 C Sugar, divided
1 1/2 tsp Baking Powder
My baking corner

1/2 tsp Salt
3 Tbs loosely packed grated Lemon Zest
5Tbs Poppy Seeds
1 1/2C 2 Tbs Butter
1/2 C freshly squeezed Lemon Juice

Preheat oven to 350*

Use laking spray to prepare your bunt pan.

In a small bolw, mix together milk, eggs and vanilla.


All mixed
In a largebowl of a mixer, mix together flour, 2/3C sugar, baking powder, salt,
lemon zest, and poppy seeds on low speed for 30 seconds.  Scrape down the bolw.


Add all of the softened butter and 1/2 of the egg mixture.  Mix on low speed for 30 seconds.  Add the rest of the egg mixture in 2 parts mixing for 20 seconds inbetween.  Do not overmix.
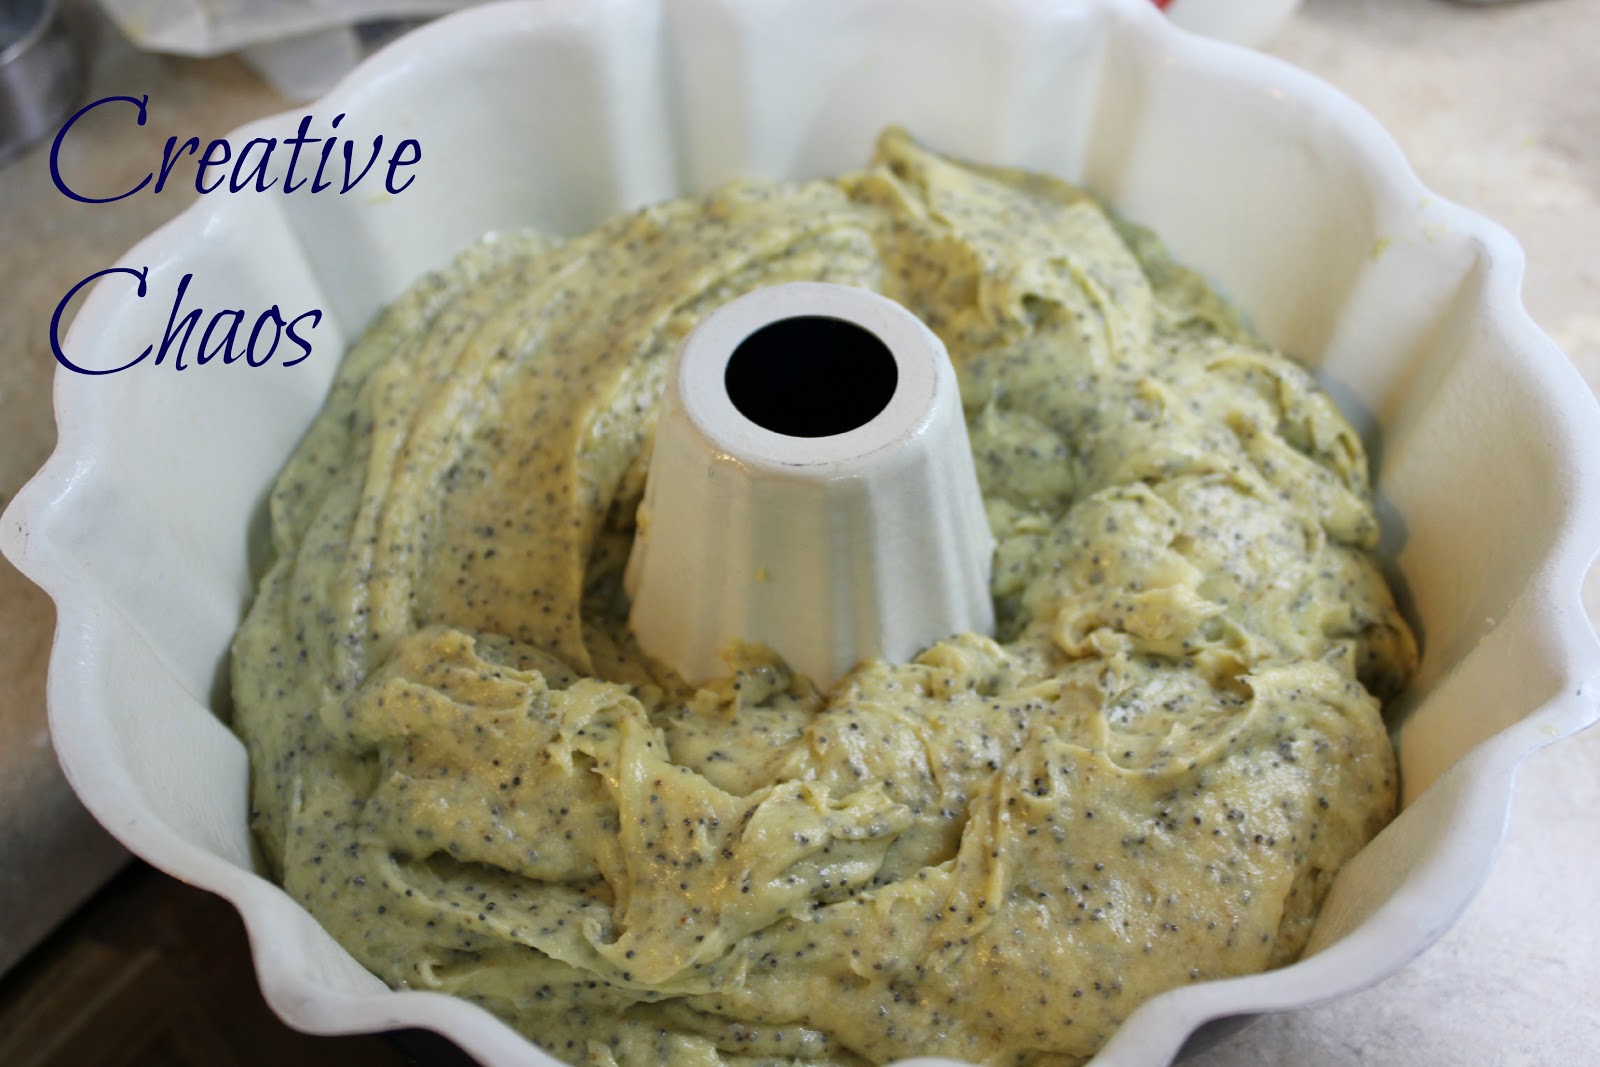

In the pan 
Pour batter into the bunt pan and bake for 55-60 minutes until inserted toothpick comes out clean.  Do not overcook.

While the pound cake is baking make the lemon syrup.  Put 1/2 C sugar and 1/4 C lemon juice in a saucepan and cook until sugar dessolved.

When the pound cake is done, poke holes over the top of the cake with a skewer. 

Brush 1/2 of the lemon syrup over the top of the pound cake.


Baked and syruped
After 10 minutes, take the cake out of the pan, spray cooling rack with cooking spray and invert cake.  Poke holes with a skewer all over the bottom of the cake.  Brush remianing syrup over the bottom and sides of the pound cake.  Use every bit of syrup.

Cool completely.  Wrap in plastic wrap.  Do not use for 24 hours.  Give the lemon syrup a chance to incorporate into the pound cake.

                       Glaze Cake

Mix 1 C confectioner sugar with just enough freshly squeezed lemon juice to make a glaze.  Let the glaze harden and serve.

                         Enjoy!


Wednesday, May 1, 2013

Fabulous Soup

Ingredients together
So we had a missions conference this last week and I signed up to bring soup for Sunday lunch.  My husband requested that I make my own version of Olive Garden's Chicken & Gnocchi.   Just for those of you who love useless knowledge(like me) the pronunciation is nyo- ki.  Well, I didn't  have any gnocchi in the house so I went to the store.  It was on the late side so I had decided not to try more than just Walmart.  Of course, they didn't have any.  So I decided to make my own.  It isn't hard.  It just takes time. 
Log rolled


First step was double checking my memory for the ingredients.  It has been quite a few years since I made them.  So I got online and found a recipe.  Next I baked some potatoes in the microwave and finished them in the oven.  The directions said to break the skin and leave them in the oven with the door slightly open for 10 more minutes to dry out some.  I didn't give them quite that much time, but the oven was also on so that I could bake something else.  Then I took the potatoes out of the oven and scraped the insides into a big bowl.  The recipe called for the potatoes to be put through a ricer.  I don't have a ricer, so I just mashed them well.  Then I added the remaining ingredients.  As a note either I should have added more flour or I overcooked them.


Cut pieces
Full batch of dough
I added the first cup of flour and mixed it in the bowl with the potato masher.  The rest of the flour I kneaded in on top of a pastry mat.  When I had worked all of the flour in, I divided the dough into five lumps of the same basic size.  These I worked one at a time.  I rolled each lump into a log approximately 1/2" in diameter.  These were then cut into 1/2" pieces.  The direction said to roll each of the 1/2" pieces over the back of a fork.  I found that for me it worked better to roll the pieces off the palm of my hand with the fork.  This adds a nice bit of line detail to the gnocchi.  It also assists in even cooking.  After I had all of the gnocchi made I set it aside until I was ready to add them to the soup.   


 Once the gnocchi was made I could go on to the main part of the soup.  I started by cutting up a small onion very finely. I started it cooking in a frying pan along with the celery I had chopped up in my freezer.  I then cut up 2 chicken breasts into 1/2" cubes and added them into frying pan.  To this I added about  half a cup of water to keep the chicken from sticking to the pan.
After I got the chicken all cooked I put the chicken mixture in the crock pot with about half a can of carrots that I cubed.  After the pan was empty I added about 3 cups of water to the pan and added a handful (one at a time - they were a little sticky after sitting for a while) of gnocchi at a time.  I cooked them for about a minute and a half for each handful.  I cooked about 4 small handfuls total.  Each handful was added to the crock of my crock pot as it finished cooking. 

After I got all of the gnocchi cooked, I added the cooking water to the crock pot.  Then I pulled out a box of frozen leaf spinach.  This I partially thawed and then squeezed out as much of the juice as I could.  (If you don't do this the soup will be green.)  I also chopped the spinach up a little  bit.  After this I put the crock in the fridge overnight.  In the morning I took out the soup and we took it to church.  Once there I put the crock pot on high and it heated for about 2 hours.  Right before serving I added about 12 ounces of heavy whipping cream.  I added this so late so that the milk wouldn't curdle with boiling in the crock pot. 

The biggest thing that I would change is not cooking the gnocchi ahead of time, but just cook it when I started cooking it in the morning.  I think that this would prevent the gnocchi from getting so soft.  It should have a firmer texture.

  Apparently the soup was very well liked, because I didn't have any leftovers.  It is always nice for a cook to know that her efforts are appreciated.  As you can see from the pictures my three quart crock pot was filled to about 1 inch from the top.

So thank you to all of you who enjoyed the soup I made.  There is a great sense of fulfilment that comes from feeding others and having your food enjoyed.


Spinach Draining


Soup without cream


Soup with cream


Saturday, April 20, 2013

Flower Power

Headbands
So I have a niece with a hair loss problem, and her birthday is coming up.  I was wondering what to get for her birthday, and I had an idea.  The headbands with the big flowers have been really helpful for camouflaging her thin spot, but they are not cheap.  So I thought that I could surely make some that would work better than the plastic ones that they sell. 

Step 1
 So I got a pack of elastic headbands,and I pulled out all of my silk flowers to use for embellishing. 

Step 1 - Cut 2 round pieces of felt and adhere them on either side of the headband.  This will allow the felt to be moved along the headband.the headband.  Personally I used hot glue. 


Step 2
Step 2 - Take apart your chosen flower.  You need to get it down to just the individual parts.  This is so that you can glue each layer individually to make it stronger and make sure that it will hold up. 


Step 3
Step 3 - Glue the leaves if there are any to the center of your felt round.  This will make your flower look more realistic.


Step 4
Step 5
Step 4 - Begin to glue the petals to the center of the leaves or felt round.  You start with the largest petal round.  You discard the plastic from the bottom of your silk flower.  If added this makes the flower unstable and if you don't glue individual petals the center will separate with use and the flower will fall apart. 


Step 6
Step 5 - Glue second round of petals.  Let each layer cool before adding the next layer.
Step 7
Step 8
Step 6 - You should be starting to get to the smaller bunches of petals by this point.  Continue to glue, but be sure that you are still getting the petals centered with the ones before.

Step 9
Step 7 - At this point you should be adding the last of your petal groups.  Continue until you have used all of your petal groups.

Step 8 - If there is a two piece center to your flower you need to glue the first piece to your petals.  And yes this does need to be done separately.

Step 9 - Trim your center down almost to the bottom of the post that goes through the flower.  You want to leave just a scissor blade length of the post on the center.

Step 10 - This step you do want to do while step 8 is still warm.  This piece needs to be placed into a pool of hot glue.  This will help to ensure the longest possible use of this flower.


Now you have a beautiful flower on a headband for the special little girl in your life.  Now you can make an assortment.  I even made one with gladiola flowers.  Since gladiolas are long spikes of flowers I glued them to a strip of felt also glued around the sides of the headband.  It turned out really nicely rounded, perfect to fit around a little girls head.


Update: her expression upon opening her gift


Wednesday, April 17, 2013

A Slippery Subject

OK, so how to use our cute, tiny mold for our soaps.  Well I thought that I could use a clay form out of the mold and make a soap mold with the shape in the bottom of the mold.  Well, the results were sadly far below my hopes.


On the right is the one out of my homemade mold on the left
is the one from the muffin tin.
So I used supplement bottles wrapped in plastic wrap as a form.  Then I wrapped them in oven-bake clay and stuck seven together in a circular group.  Then I had to take my "forms" out.  Well, that didn't work as well as I hoped.  When I pulled the mold out of the toaster-oven, they weren't as smooth as I had hoped as you can see.  For one thing I don't think I baked it quite long enough.  It was very brittle.  As you can see from the picture it didn't hold up intact for long. 

Soap mixed to medium trace
So I took a step back and refigured.  I decided to use my silicone muffin pan to form the soap and then use a stamp made from the mold.  Of course, before I could use the stamp, I had to make one.  So I took the left over clay from making the mold and filled the mold with clay and formed it with a handle.  I think it will work much better than the mold that I made. 

soap cooking - almost completely gelled
For those of you in my situation, i.e. want to try something new and either don't have the time or patience with the math (yes those both apply to me), I am posting the links here for lye calculators and an awesome soap calculator.  The soap calculator will give you your lye as well.  To be honest, since math has not been one of my better subjects for a great many years, I probably would never have attempted soap without these tools.  ;)  The soap calculator let me input how much of each oil I was planning to use and figured the water and the lye for me.  It even gave me the input on where in the range of standard measurements my recipe landed.


Soap Curing
I had to find a recipe that would only use locally available since the party is so soon.  So I started out with olive oil, coconut oil and sunflower oil.  I also used a little cocoa butter and lavender essential oil.  I started by measuring and mixing the oils.  Then I measured out the water and lye.  I waited to add the cocoa butter and lavender until it was done cooking. 

soap curing and labeled
I don't have pictures of my first batch of soap, but I made pictures of the next one.  The first batch took FOREVER to go together.  For one thing we stirred for 2 hours before my friend got back with the immersion blender.  After that I was at trace in about a minute.  Then I started to cook it in the crock pot.  Now I started cooking it at about 9:30 PM.  It was still not quite neutralized at 5AM.  I made a 2lb batch to start with and scented it lightly with lavender essential oils.

The second batch I made I left unscented, but added 2 spoons of black cocoa.  I used a little different formula this time.  I used the soap calculator with this one as well.  This time I mixed the cocoa into about a cup of nutralized soap.  Then I lightly mixed it into the rest of the soap and molded in recycled cracker boxes that I cut the fronts off of and taped the end together.  When I unmolded it the next morning, I cut it with a paring knife into squares, leaving the top textured.  The top isn't very swirled, but you can see from the pictures that the sides look really cool.  I think if I do this again I will use Hershey's cocoa.

I think in the future I will use cold process more frequently, but this gave me the option of getting it done right now and be able to hand them out in a short period of time.

A note of thanks goes out to all of those who are so very generous with the information that they have gathered through experience.  I am very grateful, because while I am trying to stretch my "wings" in new areas craft wise, I do still have to be very mindful of expenses.  So to all of you that have so generously shared information and experience with those of us in need of guidance, I send you a very heartfelt thank you and God bless.


Saturday, April 6, 2013

Baby Stuff: Finished at last


So it's all finished.  I hand quilted this and it seemed to take forever, especially to my husband.  I took it with me almost everywhere, including to church.  I paper pieced all of the blocks.  I did use others ideas as a starting place for the four seasonal blocks (Thank you), but I incorporated them into a large block of my own design.


Log Cabin
Spring


Summer


Center

Fall


Winter


So I got all of the blocks put together and started quilting.  Now the basics were no problem.  I just quilted around the shapes.  However I still needed to fill in some open spaces inside the blocks in order to have the right amount of quilting i.e. no more than four inches between stitching.  So in the summer block I added a cloud in the sky and leaves in the tree. 


Fall leaves detail
 In the fall block, I didn;t want to add to the busyness of the block, so I quilted along the lines of the pieces.  This gave me complete coverage for quilting purposes.  I also added a cloud in the sky in this block as well.

In the spring block I quilted around both of the birds seperately.  Also while I quilted the greenery I did not quilt on the embroidered flowers.

On the divider strips I quilted a simple vine and
leaf pattern.  The I hand drew with a quilting stencil transfer pencil.  It helped to keep them fairly regular.  I am very grateful to have finished this.  My sister is happy with it also, which makes me happy as well.  All in all I am very grateful to have this quilt put to bed so to speak.


So now on to a new project.