 |
| Cut bars of soap |
I have my new soap mold, so I just had to try it out. I figured that it would take at least a four pound batch to fill this mold. I got on to the soap calc site, my go to site for figuring recipes, and started figuring out a recipe.
 |
| Mold open with the freezer paper |
 |
| Mold closed |
I started by lining my mold with freezer paper. I cut along the edge of the ends to fit the ends of the mold. Next I cut the ends that I will fold over at an angle and trimmed them. I then folded them up and closed up my mold. After that I just had to trim off the part over the top of the mold.
I decided to use chai tea as a base liquid for this recipe, and I used coconut oil, olive oil, new Crisco with palm oil, rice bran oil and about a half ounce of vitamin E oil. The vitamin E oil acts as a preservative. I am only using the Crisco until I can get some palm oil. I measured everything out and started to mix the soap. This recipe traced really quickly. I love it when they trace quickly! After it traced I added cinnamon.
 |
| Top trimmed & ready for soap |
I molded the soap, let it cool a little bit to sculpt it, and put it in the oven at 170* for an hour. I have not had good results with just insulating to gel the soap. This heat is enough to complete basic saponification but the ph is still high. The next step was to let it cool so that I could cut it.
 |
| On the floor, doesn't everyone have days like this? |
I needed good pics of the soap in the mold so I was carrying it my front porch for some sunlight. I was walking toward my front door when one side of my mold let loose. of course, the soap slid out of the mold and hit the floor. Fortunately, most of the soap stayed in the liner. Of course, not all of it did, so I scraped up what hit the floor. Fortunately I had just mopped the floor. I got it all molded back up. I put a little more cinnamon on top, and took it outside and got my pics.
 |
| Soap in the mold |
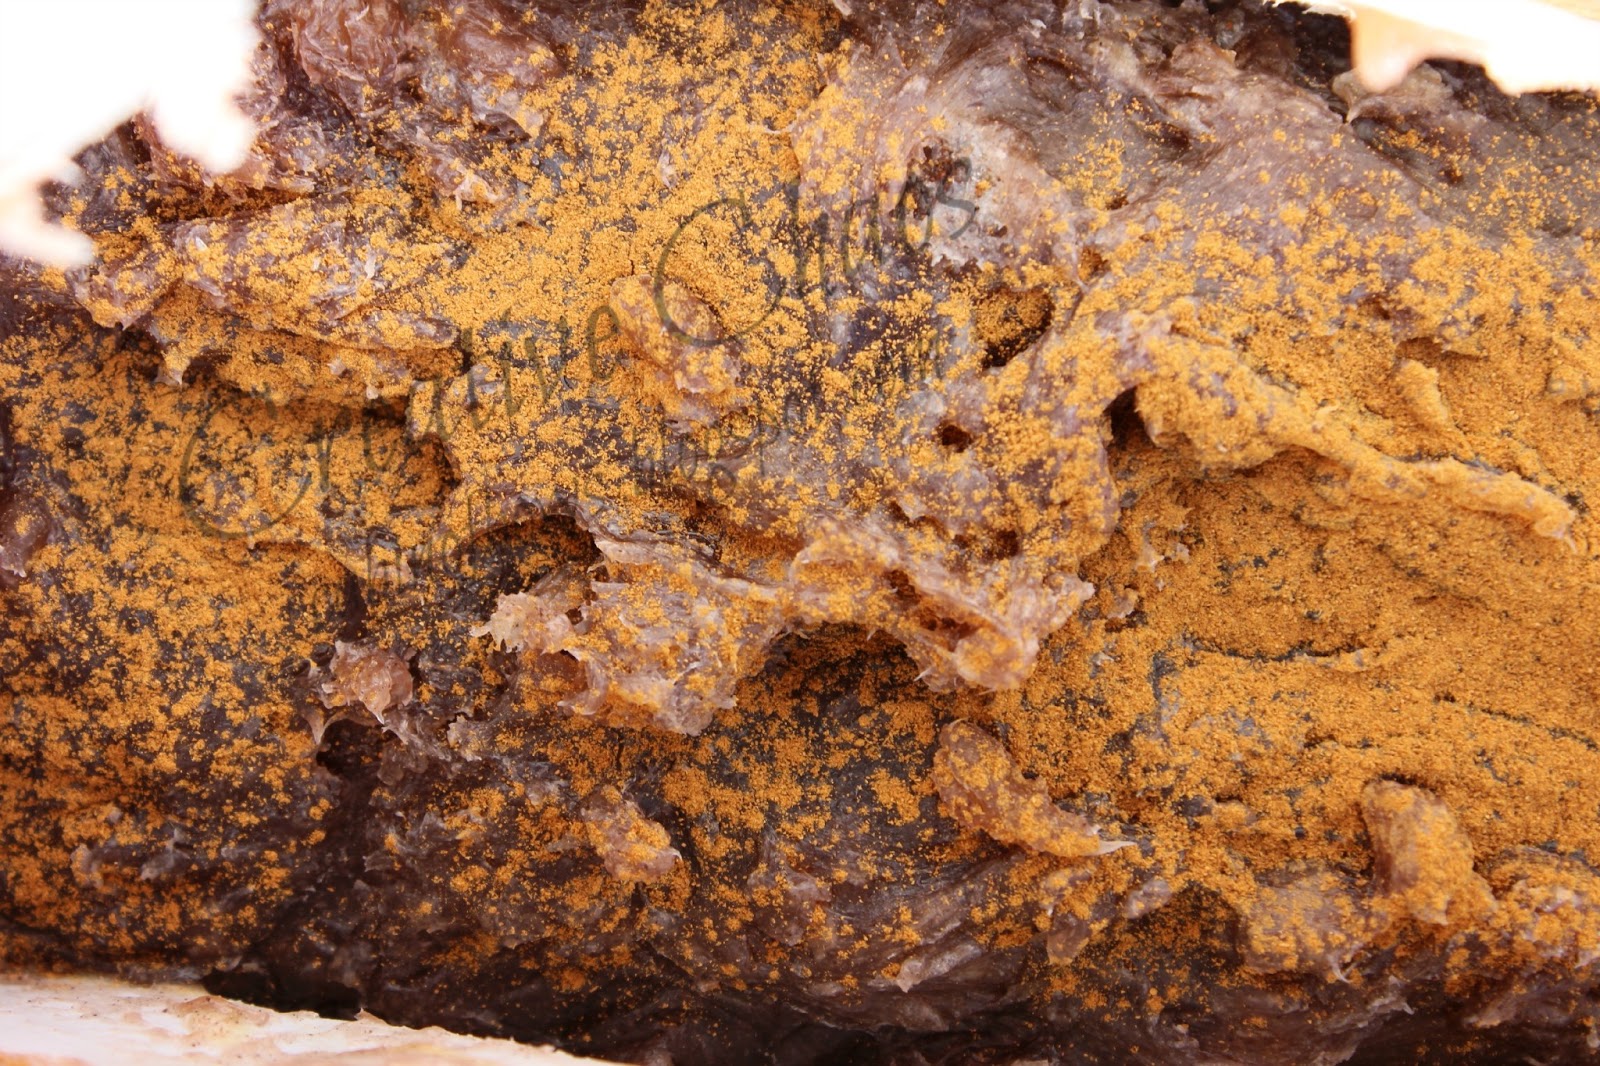
I love the rich color that I got from the tea, and with the cinnamon it smells wonderful. I do think that this mold would work better for at least a five pound batch. The soap was still a little shallower in the mold than I would like.
 |
| Close-up of the top of the soap |
After allowing the soap to cool overnight, I released the sides of the mold and pealed the paper off of the sides. I started cutting the first bar off of the block with my wire and dowels cutting setup. I got this one bar cut and and realized I needed to take the soap completely out of the mold and pull the paper off of the bottom. After pulling the paper off, I cut the remaining bars and spread them out a little bit to start curing. In the process I have decided that I need to take the gate hooks off and put industrial Velcro on to close the mold.
 |
Cut soap and the dowels and wire that
I use to cut the soap |
My husband came home and started raving about how the chocolate bread looked really awesome and when would it be cool enough to eat. Mind you my husband is one of those strange ;) people who doesn't like chocolate.


Congrats on your new mold!
ReplyDeleteThanks for linking up with us this week at BeBetsy BRAG ABOUT IT Tuesday Link and Hop.
We'd love it if you would link back to BeBetsy at the bottom of your post. http://bebetsy.com
See you soon!
Sharon and Denise
What a great new mold, an the Chia delight sound just that 'delightful'. Thank you for sharing with the Clever Chicks Blog Hop this week; I hope you’ll join us again!
ReplyDeleteCheers,
Kathy Shea Mormino
The Chicken Chick
http://www.The-Chicken-Chick.com
Hello there!
ReplyDeleteNew here =) I found you via Thee Networking Blog Hop.
Wow! I love the texture of the soap you've made. It looks almost like chunks of cooking chocolate!
Ohh! That soap looks amazing! I love the new mold! Thanks for linking this up at the Make Bake Create party last week!
ReplyDelete